Data Glossary 🧠
Search
How to Contribute to the Glossary
General Infos
If you want to know more general how this glossary works, see General Info with a description of folder structure, how to create a link, etc.
Deployment wise you have three options, which are explained in the chapters below:
- Web edits through GitHub
- Creating an Issue and we’ll do the rest
- Or cloning and running it locally
# Web Edit with GitHub
You can either click on Edit Source on each page and directly edit on GitHub or you can create a
New Issue.
# Create an Issue
If you are unsure, you can always create an issue on our GitHub repo and we will make sure to add the new entry.
# Changing a lot? Clone locally
# Clone it locally with git
Clone the repo with:
| |
# Editors
# Obsidian as an Editor (Recommended)
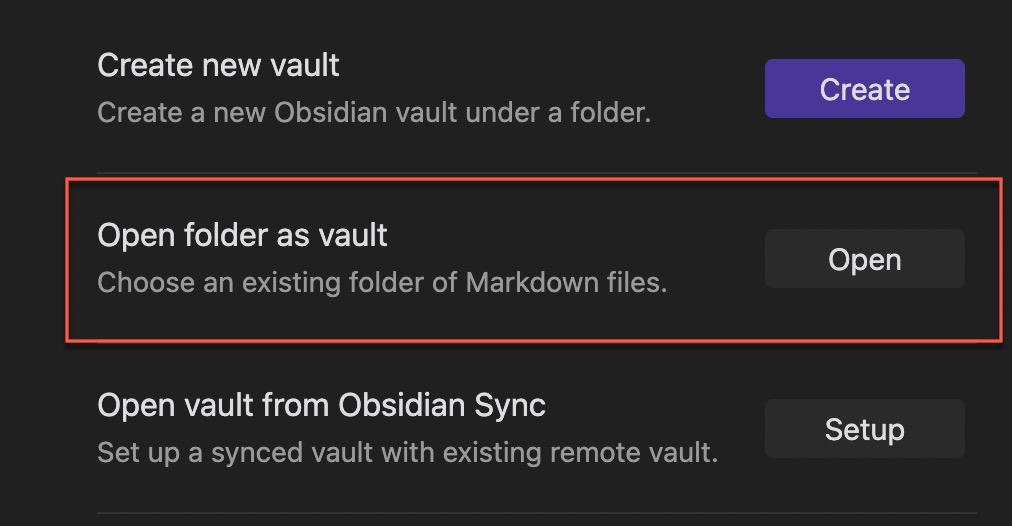
If you want to use
Obsidian, which I recommend as it will handle all links when renaming terms, adding a nice Markdown view with lots of features (even if you don’t need them) and showing backlinks and
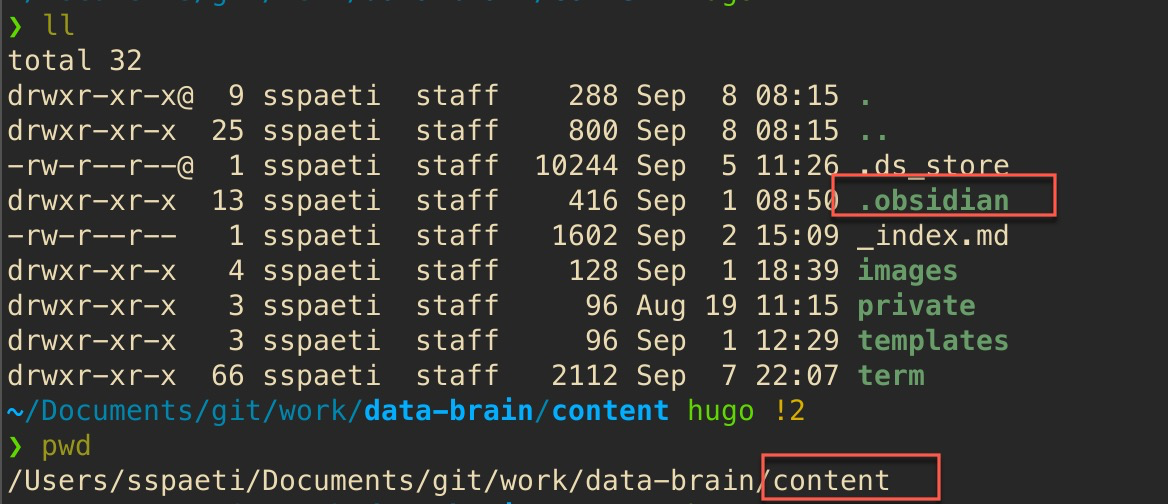
graph. Just open the Obsidian in the folder content/, there is a hidden folder called .obsidian which does the rest.
More details and step-by-step manual you see on
Quartz Setup, how to
Edit Notes and
How to set up Obsidian (although the settings are already done when you open the .obsidian folder as described above).
# Use any other Editor
Of course, as everything is Markdown, you can edit each file under content/term as a normal markdown file and publish (see below) changes to GitHub. Keep in mind, ethat very new term you create will automatically be created as a page in dthe eployment process or when you run it locally.
# Preview Locally
# Setup
Quartz runs on top of Hugo so all notes are written in Markdown.
We need to install golang, hugo-obsidian and hugo. Follow the instructions on Preview Changes on Quartz.
If you are running into an error saying that
command not found: hugo-obsidian, make sure you set yourGOPATHcorrectly! This will allow your terminal to correctly recognize hugo-obsidian as an executable.
I added to my ~/.zshrc (or ~/.bashrc):
| |
# Run it!
All you need to do it goint to your root directory of you cloned repo and start make serve:
| |
That’s it, from now on that’s how you run it. All changes you make will be automatically published, you do not need to stop and restart when you add terms, etc. (only the graph view will only be updated after stopping and serving again).
# How to Publish
Commit and Push to branch hugo and wait a couple of minutes until
GitHub Actions will deploy it automatically. At the moment we do not need to create PR’s to make the updates as easy as possible.
If we encounter problems in the future, we might change that. If you are unsure, you can always create an issue and we will make sure to add the new entry.

